Printing gold on fabric
My first two attempts at fabric printing were quite tricky, so I was relieved to have a really smooth session this time. For some reason everything worked out great and none of the previous issues showed up. Maybe just a lucky day.
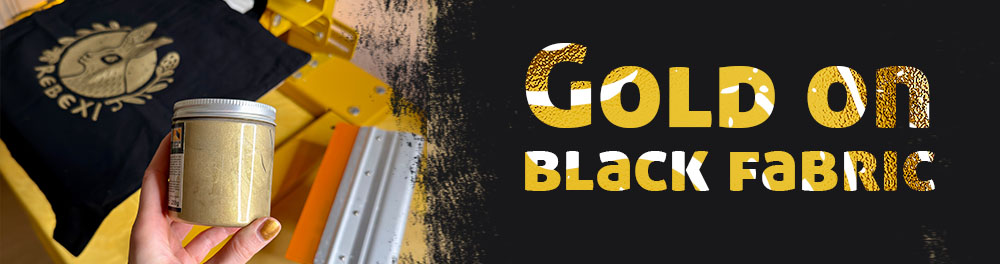
I wanted to print my logo on a few second hand shirts and tote bags. I used pink and black inks on light fabrics and white and gold on dark ones. In this post I will only show how I printed the gold ink on a black tote bag to keep it simple and also because it´s my favorite.
If you want to see how the other versions were done and how they turned out you can watch the video at the end of this post where I documented everything.

Gold on Black
I burned my logo on a 55T screen which is considered a good allrounder for fabric printing. I used a one component FLX SCREEN hybrid photo emulsion to coat the screen.
For the squeegee I used a medium hard (70 shore). My screen has a 3mm off contact height to the platen to reduce smudging and fuzzy outlines.
Below you see a black cotton tote bag and the Textprint AQ brilliant gold for fabric printing. The gold ink is on the fluid side and not very thick. Almost all the materials I use can be found at Siebdruckversand, where I bought them.


Roll-on adhesive
Roll on adhesive is a sticky liquid that keeps your fabric in place while you print. You apply it to the platen so your shirt or tote bag does not shift when you pull the squeegee. Without it your print edges can move around and ruin the alignment, especially when you do multiple passes. This brand is eco friendly water based and non toxic.
You can also use tack spray, but it is not as strong and the overspray can land on surfaces other than the platen.
I apply a thin zigzag line across the platen and spread a light layer with a card or spatula. I keep it even and let it get tacky for a moment. Then I place the fabric on top and press it down with my hands so it grabs the adhesive. When it loses tack after 30 prints I add a fresh layer on top of the old one. Just a light coat each time. No puddles. No glue lakes.
Cleaning is not that simple in my experience. Warm water and screen printing cleaner remove lint and ink but the platen still stays sticky. Only sticker remover has worked for me so far. It can be worth using pallet tape or something similar on the platen and putting the adhesive on top of that. After your printing session you just remove the tape and skip the whole cleaning process.

Cold cure additive
Big advantage: a cold cure additive lets water based fabric ink cure at room temperature within 72 hours which means you can skip the whole heat curing process. The print becomes fully wash safe if used correctly.
You mix 5% to 10% of the additive into the amount of ink you plan to print. For example I take an empty container, add 250g of gold ink and then add 5% to 10% of the additive which equals 12.5g to 25g.
Once mixed the ink stays active for a few hours.
Please note: After that the additive stops working and the ink is no longer usable, so only mix the amount you need for that session. Once the mix has expired you have to discard it.
If you need to finish things quickly and cannot wait those three days you can use heat curing with an iron, a heat gun, heat press, flash dryer.

Flash drying
For example if I print white water based ink on black garments it is not fully opaque, so a second layer is needed. That usually means a quick flash dry between the two print strokes. I use a heat gun and quickly dry the ink until it is no longer wet to the touch but still not fully cured, then I print white over it again. After that the coverage is very solid. The same approach works well with this gold ink.
I flood the screen, pull the ink through the mesh, flood again, lift the screen, then flash dry with the heat gun in slow circles. I check with a finger. The ink should feel tacky but should not lift. Then I lower the screen, print again, flood, lift, and done.


Comparison
I was surprised how strong and opaque this water based gold ink looked already after the first pull (see image below). I could have stopped there and been totally fine with it. But a quick flash dry and a second layer added a bit more depth and more of that metallic look. What looked good on the first pass turned out even nicer with the second. It´s a bit hard to see in the image though.

I am very pleased with this gold ink on fabric and will proudly carry these tote bags when I go grocery shopping.

If you are curious how the other inks on shirts and colored tote bags turned out you can watch this YouTube video where I show everything from start to finish.
Like most of my videos where I talk, it is in german, but you can turn on EN subtitle.

Upcoming blog post:
Out of curiosity I tried a two color screen print using vinyl foil as a stencil instead of emulsion and exposing. It worked surprisingly well. I will make a video about it and also write a blog post.
Other update: I built a larger printing bed for my machine. I am not sure I will do a blog post about it, but you can watch the video on YT and see how that I am not exactly a natural with tools, but I still get it done in the end.
Newsletter: my newsletter is overdue and will be packed with stuff when I send it hopefully next week?